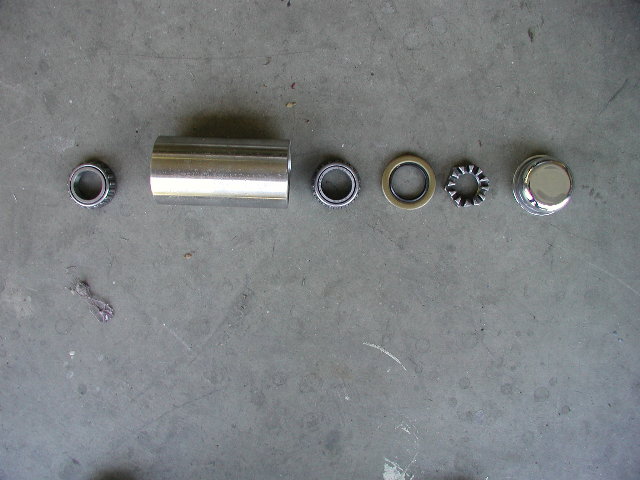
The pivot point for the rack is simple...a stub trailer axle is fastened to the bumper, and an axle hub machined from a piece of stainless schedule 80 pipe is used for the pivot.
The latch is a little more complicated, but not as crazy as it looks...all the pieces are machined from stock that is readily available. It is a spring loaded, quarter turn lock that uses a roll pin as the locking mechanism against thr machined detent in the bumper shown above.
More detail to follow as the project takes shape!
This is what it will look like when it's done...this is the first one that Gordon built on his Jeep, a 2000 Tj.
Check back...next will be final assembly and polishing.
To start with, this is not my work! Gordon Mott is doing this as a favor to me (and I think a wood stove we bartered a few years ago). It isn't that I couldn't build a bumper..I could. It's just that Gordon is an artist in stainless. Here is the process:
The basic bumper starts with a piece of 14 gauge 304 stainless sheet. In this case it was sheared to about 50" x14", and then bent into the basic shape of the bumper as seen here from the end.
This shows the recessed light buckets. The shape was cut out of the bumper blank, then a matching shape (for the back of the bucket) was cut from 14 gauge sheet and holes were cut to accomodate mounting of the lights. The "walls" are made from a 1" strip sheared from the same sheet and then bent to fit the bucket.
This is a shot of the pivot from the back of the bumper. The sleeve was made from schedule 80 304 stainless pipe. It has a stud welded into the bottom that the trailer axle (to be used as a pivot for the tire rack) is threaded onto. The bolt hanging off the side is a set screw to hold it on place. Building it this way, it is easily removeable and makes polishing the bumper much easier.
This is the latch shown from the underside. It is a keyhole type latch that allows the "key" (which is the latchpin in this case) to be inserted in the "keyhole" on the top of the bumper. Once it is turned 90 degrees, spring pressure holds it into the machined slot on this piece.
This is a shot of the back of the license plate frame. Notice a couple of things. First, the "rainbow" appearance of the weld...this is what a good weld should look like in stainless if the temperature and feed are correct. Second, the welds are done an inch or so at a time, with plenty of cooling time in-between, This keeps the material from warping from hot spots forming.
End.
This is the beginnings of the tire rack, clamped in place on the steel table of the Strippit machine. Clamping it keeps it straight and lined up while the rack pieces are being welded together..